 Veteran owned business

Blog
Is Gel Coat Repair Worth Doing Yourself?
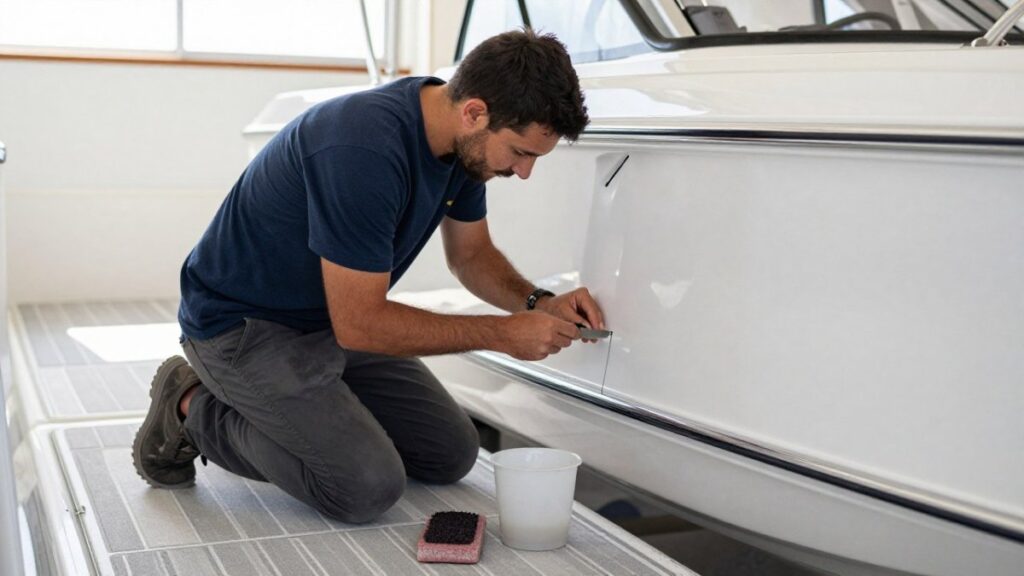
Nov
Last Updated: November 19, 2026
Quick Summary
Gel coat repair is worth doing yourself for cosmetic surface damage above the waterline, such as scratches, chips, and small cracks. Anything that flexes, runs deep, shows dark laminate, or sits below the waterline should go to a professional.
- A small chip or scratch is a genuine weekend project: prep, apply, cure, then wet-sand and polish.
- DIY out-of-pocket runs roughly $75-$350 for a small repair if you own the tools.
- Professional labor is often billed at $75-$150+ per hour, with small repairs often totaling $300-$1,500+.
- A variable-speed polisher or dual-action sander runs $80-$200 and a half-face respirator $30-$60.
- Bottom repairs below the waterline are the one area where we tell most owners to call a professional.
Table of Contents
- DIY vs. Professional Gel Coat Repair: A Side-by-Side Comparison
- When DIY Gel Coat Repair Makes Sense (and When It Doesn’t)
- Understanding Boat Gel Coat Repair Cost: DIY vs. Professional
- How to Choose the Best Gel Coat Repair Kit
- How to Repair Gelcoat Cracks: Step-by-Step
- How to Repair Gelcoat on the Bottom of a Boat
- Preventing Future Gel Coat Damage and Maintaining Your Repair
- Get the Right Gel Coat Repair Kit for Your Boat
- Frequently Asked Questions
DIY vs. Professional Gel Coat Repair: A Side-by-Side Comparison
Whether gel coat repair is worth doing yourself comes down to how much of the job you can finish. Marine Coat One sells gel coat repair products to both boatyards and boat owners.
A gel coat repair restores the pigmented outer layer of a fiberglass hull, deck, or topsides after scratches, chips, or cracks break through the finish. That layer protects the fiberglass from water absorption, so a cosmetic flaw left alone can become structural.
Here is a comparison to help you decide:
| Factor | DIY Repair | Professional Repair |
|---|---|---|
| Best for | Scratches, chips, small cracks | Structural cracks, large areas, hull damage |
| Materials cost | Kit plus basic hand tools | Included in shop quote |
| Labor cost | Your own time | Billed hourly or per job |
| Time to finish | A weekend project with cure time | Scheduled drop-off and pickup |
| Finish quality | Good with patience and color matching | Consistent, often factory-level |
| Risk | Visible color mismatch, poor adhesion | Higher bill, but backed work |
Cost Breakdown: Materials vs. Labor
Professional gel coat repair cost depends on the scope of the job, and labor is often a major part of the total. DIY shifts the cost almost entirely to a repair kit and a few tools you may already own.
Time and Skill Requirements
A small chip or scratch is a genuine weekend project: prep, apply, cure, then wet-sand and polish. Skill matters most at color matching and the final sand-and-polish stage. Get those right and a first-timer can produce a repair that disappears at arm’s length.
When DIY Gel Coat Repair Makes Sense (and When It Doesn’t)
DIY gel coat repair makes sense for cosmetic surface damage above the waterline: scratches, chips, small surface cracks, and faded patches on a hull that’s otherwise sound. It stops making sense the moment damage suggests the fiberglass itself has been compromised.
Scratches that don’t catch a fingernail are the easiest DIY win, and chips from dock rub or trailer contact are straightforward. Crazing, the fine web of surface cracks from age and sun, is cosmetic but tedious to fix well. Cracks that run deep, flex when pressed, or radiate from an impact point are a different story.
A Damage-Severity Decision Tree
Use this to sort your damage before you buy anything:
- Does it catch a fingernail? No: polish or light compound only. Yes: continue.
- Is it a scratch, chip, or small crack above the waterline? Yes: DIY is reasonable.
- Does the crack flex, run deep, or show dark laminate underneath? Yes: get a professional assessment.
If any answer points to structural damage, stop. Waterproofing depends on an intact barrier, and a bad repair on a flexing hull will crack again.
Understanding Boat Gel Coat Repair Cost: DIY vs. Professional
Boat gel coat repair cost splits into two very different budgets. DIY costs a kit, consumables, tools you may not own, and time. Professional costs labor hours at shop rates plus materials, with labor the larger line item.
Here’s where the money actually goes on each path:
| Cost category | DIY | Professional |
|---|---|---|
| Gel coat paste or kit | $30-$120 depending on color-match and size | Included in quote |
| Hardener, mixing cups, sticks | Usually in kit; $5-$15 if not | Included |
| Sandpaper (assorted grits, wet/dry) | $10-$25 | Included |
| Polishing compound and pads | $15-$40 | Included |
| Masking tape and masking film | $8-$15 | Included |
| Solvent or surface prep cleaner | $8-$20 | Included |
| Tools you may need to buy or rent | $0-$150+ (see below) | Shop owns |
| Labor | Your time | $75-$150+ per hour, billed by job or hour |
| Total out-of-pocket | Roughly $75-$350 for a small repair if you own the tools | Often $300-$1,500+ for a single small repair depending on market and access |
Those ranges are broad on purpose, pricing varies by region, damage size, and hull access, but they show the shape of the trade-off.
The tool-ownership question
This is the part most DIY cost comparisons skip. A gel coat repair needs a few tools that many homeowners don’t have on the shelf:
- A variable-speed polisher or dual-action sander. A cheap orbital won’t cut it for final polish; a DA polisher runs $80-$200. You can sometimes rent one, but rental fees for a weekend add up fast.
- A sanding block and flexible sanding pads. Cheap, but easy to forget.
- A rotary tool with a small burr or pick for opening cracks. Many owners already own one; if not, $40-$100.
What drives the professional quote
For a color-matched result on an older, sun-faded hull, a custom color gel coat matched to your boat’s actual current color is what makes a DIY repair blend instead of standing out, and it’s the single biggest lever you control over whether your DIY result looks professional or looks DIY.
How to Choose the Best Gel Coat Repair Kit
The best gel coat repair kit matches your damage type, your boat’s color, and your skill level, not simply the cheapest tube on the shelf. Here’s a framework built around that decision.
Match the kit to the damage, not the label
Kits come in three broad types, and picking the wrong one is the most common first-timer mistake:
- Paste kits are thickened gel coat for filling chips, cracks, and small gouges. They stay where you put them and sand fair. Best for vertical surfaces and overhead work where a runny product would sag.
- Liquid kits are thinner and better for small scratches and spider cracks where you want the material to flow into the defect. They’re harder to build thickness with on a chip.
- Patch kits with backing include a small piece of fiberglass mat or cloth for damage that goes through the gel coat into the laminate. If you can see dark material under the chip, you need this type, not a plain paste kit.
Match the kit type to what you actually see on the hull. A paste kit on a hairline scratch wastes material; a liquid kit on a chip won’t fill.
Color matching: the make-or-break variable
Factory colors fade. A kit matched to the original build sheet can look wrong on a 15-year-old hull, and that mismatch is what makes DIY repairs look DIY. Custom color matching to your hull’s current color is available through Marine Coat One’s color matching service. And “white” is not one color; marine whites range from warm cream to cool bright white, and a mismatch shows at arm’s length in direct sun.
Set a realistic finish benchmark before you buy
This is the gap competitors leave open. Before you spend money, decide what “good enough” means for your repair, because DIY and professional results differ in predictable ways:
- Color: A custom-matched DIY repair can be very close, but on a faded hull it will rarely be invisible at every light angle. Expect a close match, not a perfect one.
- Gloss: You can polish a DIY repair to a high gloss, but matching the surrounding orange-peel texture or the sheen of an aged finish takes practice. A slightly different gloss is the most common visible tell.
- Texture: Orange peel, sanding scratches, and polish swirls are the usual DIY signatures. Careful wet-sanding through progressively finer grits and a final polish minimizes them.
If your benchmark is “looks fine from the dock and holds up,” DIY is realistic. If it’s “indistinguishable from factory under inspection,” budget for a pro or accept that the repair will be visible on close inspection.
Completeness and material quality
A good kit includes the gel coat paste, hardener, mixing tools, and finishing supplies so you’re not making three separate trips. Marine Coat One offers comprehensive gel coat repair kits made from materials tested against natural elements.
Read the contents list before you buy to confirm the kit includes everything you need.
How to Repair Gelcoat Cracks: Step-by-Step
Repairing gelcoat cracks is a sequence of prep, fill, cure, and finish, and skipping any stage shows in the final result.
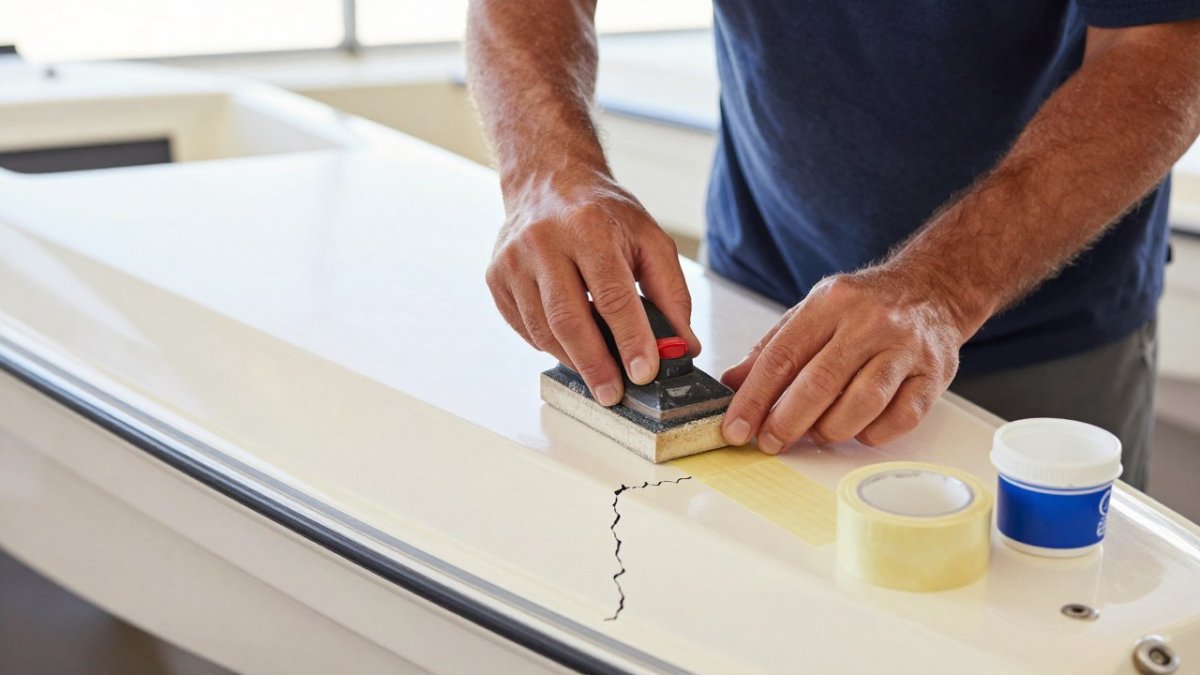
- Clean the area. Remove wax, dirt, and salt, then let it dry fully.
- Open the crack. Use a pick or small burr to widen it into a shallow V so the paste can key in.
- Sand the edges. Feather the surrounding gel coat so the repair blends.
- Mask the area. Tape off surrounding hardware and non-target surfaces.
- Mix and apply. Combine gel coat paste with hardener per the kit, then fill slightly proud of the surface.
- Let it cure. Give it full cure time; rushing causes shrinkage and dull spots.
- Wet-sand and polish. Level the repair, then polish to match the surrounding gloss.
Marine Coat One’s gel coat repair kits are available for repairs of this type.
How to Repair Gelcoat on the Bottom of a Boat
Bottom repairs are the one area where we tell most owners to call a professional. The hull below the waterline sits in constant contact with water, and a poor bond there leads to blistering or water intrusion into the laminate. A small ding is DIY-possible if you’re confident in your prep, but the margin for error is thin.
The steps mirror the crack repair above with two additions: you’ll strip and later reapply bottom paint over the repair, and you must confirm the repair is fully cured and sealed before the boat goes back in the water. Follow the step-by-step application instructions for your kit carefully, and don’t shortcut cure times. If the damage is near a through-hull or shows any flex, have it assessed.
Preventing Future Gel Coat Damage and Maintaining Your Repair
Most gel coat damage is preventable, and the habits that prevent it also protect your repair. Fenders at the dock, a trailer that fits the hull, and prompt cleanup of bird droppings and fuel spills all extend the life of the finish.
After a repair, keep the area waxed and out of prolonged direct sun where you can. Gel coat is porous over time, so a quality marine wax creates a barrier against water and UV.
Get the Right Gel Coat Repair Kit for Your Boat
The real challenge isn’t deciding whether to do it yourself; it’s matching the kit, the color, and the damage so the repair actually lasts. Marine Coat One is a veteran-owned business offering custom color matching and comprehensive gel coat repair kits, made from materials tested against natural elements.
Get started with Marine Coat One and finish a repair that blends, holds, and keeps your boat protected.
Frequently Asked Questions
How much does gel coat repair cost?
Pricing depends on quantity, damage size, and location. For current prices or a quote, visit the Marine Coat One website. For small scratches and chips, DIY saves significant money; for large cracks or structural damage, professional repair is often more cost-effective long-term.
Can I gelcoat over old gelcoat?
Yes, you can apply new gelcoat over old gelcoat if the surface is properly prepared. Clean the area with acetone, sand with 80-120 grit to remove gloss and contaminants, and wipe with a tack cloth. For best adhesion, sand to 220 grit and use a primer if recommended. Avoid applying over wax, oil, or silicone, which cause fish eyes.
Are spider cracks in gelcoat bad?
Spider cracks (crazing) are usually cosmetic, not structural, but they allow water to penetrate the porous fiberglass underneath, leading to bigger problems. If cracks are shallow and don’t flex when pressed, DIY repair with a gel coat paste is fine. If cracks radiate from a stress point or widen under pressure, have a professional assess for structural damage before repairing.
How long does a DIY gel coat repair take?
A small scratch or chip takes 1-2 hours of active work plus overnight curing. A larger area with multiple cracks may take 4-6 hours spread over a weekend. Factors include surface prep, color matching, and polishing. Rushing the cure or skipping sanding steps leads to poor adhesion and early failure.
